How to do a semi-permanent manicure for beginners?
If you are a beginner, mastering the application of semi-permanent varnish can be difficult. Today, we will tell you how to do a semi-permanent manicure for beginners. Let’s go around!
- Apply the solvent with cotton on the nails to clean them and prepare them for the application of the varnish.
- Apply the corrective base to the nail in very thin layers so that the UV lamp can harden each layer.
- Let dry 2 minutes under the UV lamp / 30 sec under an LED lamp.
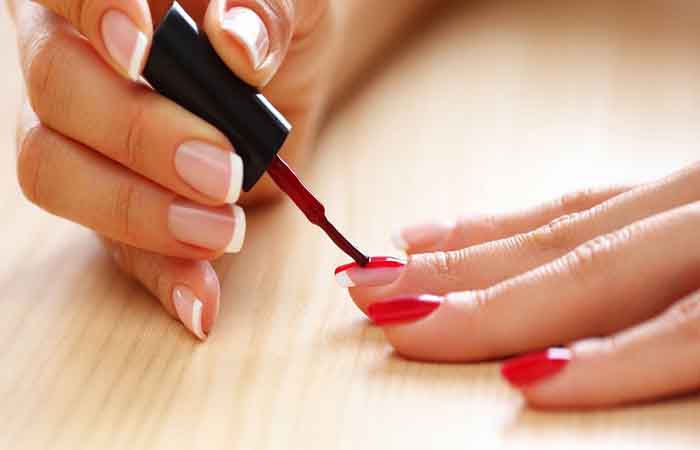
- Then apply the color varnish in the same way as the corrective base.
- Let dry 2 minutes under the UV lamp / 30 sec under an LED lamp.
- Repeat steps 4 and 5 to apply the second coat of varnish.
- Then apply the top coat in the same way as the previous coats.
- Let dry 2 minutes under the UV lamp / 30 sec under an LED lamp.
6000 PCS $690.00
In addition, it is absolutely necessary to make very thin layers of varnish. Otherwise your nails will have a huge bulge, which will give an unsightly look. Finally, remember that this technique isn’t recommended on weakened nails.
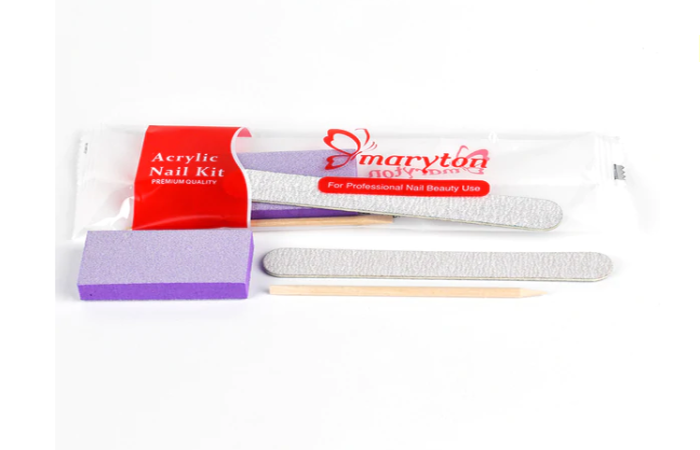
To get all the necessary equipment, I advise you to invest in a complete manicure kit! To help you in your choice, I invite you to visit our nail supply store!
Read also: How To Do A Semi-Permanent Manicure At Home?


