How to apply semi-permanent varnish?
Applying semi-permanent nail polish at a beauty salon can be expensive in the long run. You will see in this article how to apply a semi-permanent varnish at home in a few simple steps for a guaranteed result.
Here are steps for applying semi-permanent varnish:
Step 1: Prepare your nails
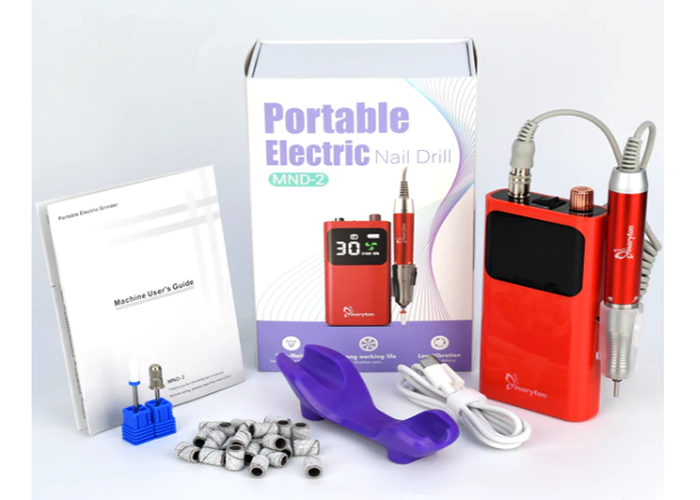
Start by washing your hands and filing your nails to give them the shape you want. To do this, you can use a nail file or an electric nail drill. Be careful to always file in the same direction. Once this step is completed, push back your cuticles with a wooden stick. Then, smooth your nails so that their surface is flat.
Step 2: Apply a primer
To improve the adhesion of the semi-permanent varnish, it is necessary to apply a thin layer of a primer. The purpose of this will be to increase the adhesion of the varnish. Once done, let your nails air dry.
Step 3: The base coat
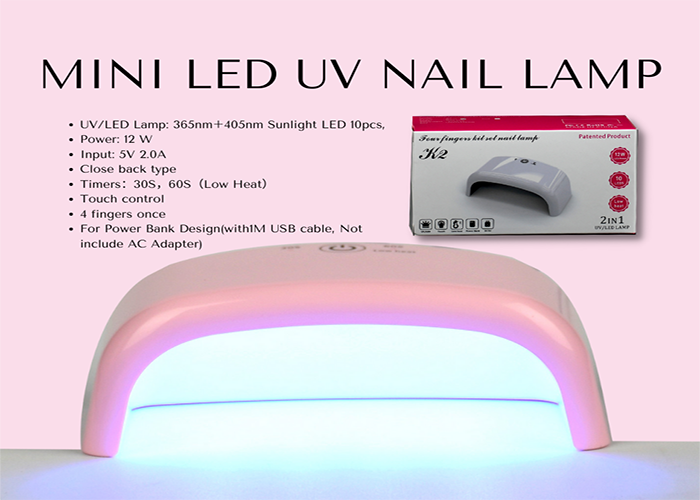
For optimal protection and long-lasting hold, it is essential to apply a thin layer of a base coat. Once done, you can run your hand under a UV/LED lamp for 1-2 minutes.
Step 4: Apply the semi-permanent varnish
To do this, apply a thin layer of it to your nails, being careful not to touch the cuticles then pass your hand under the LED / UV lamp for 1 to 2 minutes.
Step 5: Apply the top coat
For the semi-permanent varnish to last longer, it is essential to apply a thin layer of top coat on the nails. Once done, run the nail under the UV/LED lamp for 1-2 minutes.
Read also: Reasons to buy an electric nail drill


