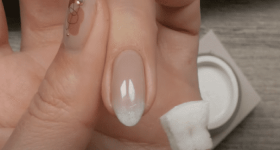
How to apply/remove a rubber base?

Applying a rubber base is done in the same way as applying a regular base coat. Below the nail supply expert Maryton explains step by step how best to proceed.
Apply a rubber base
Nail preparation: Before applying the rubber base, it is important to properly prepare your nails. Next, apply nail prep and primer to improve the adhesion of the rubber base coat.
Apply the rubber base: Once the primer has completely dried, you can start applying the rubber base. Apply a thin layer and make sure the entire nail is covered.
Curing: Allow the rubber base to harden under a UV/LED lamp. It is important to respect the curing times indicated on the supplier/manufacturer’s product page.
Next steps of the manicure: Apply a layer of gel polish of the desired color and let it harden under a lamp. Finish the manicure with a top coat for added shine and protection.
Remove the rubber base
Removing a rubber base is the same as removing a regular base coat. There are three different methods for removing a rubber base: filing, milling or the dipping method. With the dip method, you must first remove (file down) the top coat before you can remove the rest.
Hoping that this article has pleased you and will give you ideas! In addition, I also advise you to invest in some professional manicure kits to care for nails.
Read also: Which vacuum cleaner to choose?


