How to apply semi-permanent varnish?
The application of semi-permanent varnish is generally carried out in an institute. However, you can also apply it at home! In this blog, we will talk about how to apply semi-permanent varnish.
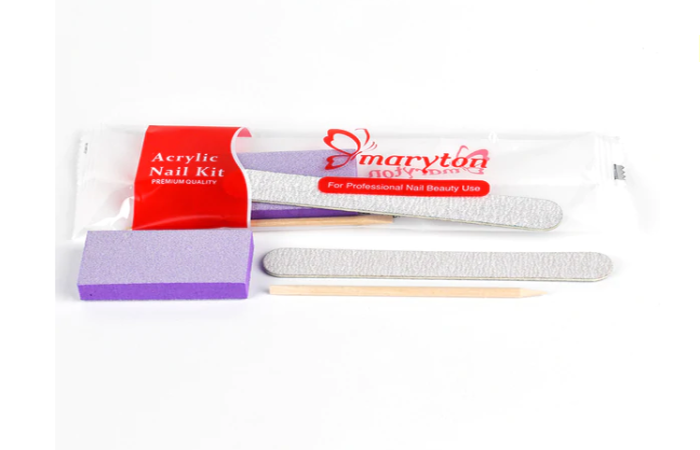
Before applying varnish, we start by making sure that the nails are ready to receive manicure. This involves cleaning the nails, smoothing them and removing the cuticles and matting the natural nail using a nail file.
300 PCS $34.50
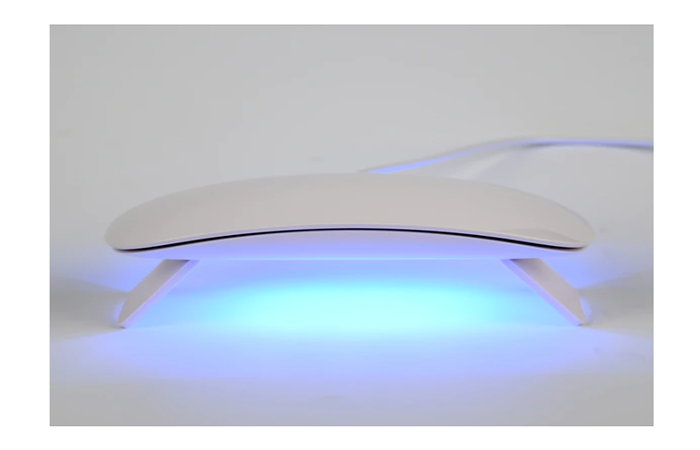
Once the nails are ready, a first coat of varnish is applied. This is the base for nails, allowing them to be protected and making your varnish last as long as possible. The nails are placed under an LED lamp or a UV lamp for 30 seconds to be dried.
Then, a first layer of semi-permanent varnish is applied and then dried for 30 seconds before a second layer is added. This second layer is also dried for 30 seconds.
$6.90
Finally, the fourth layer is applied. This is the top coat, which protects your varnish and prevents it from flaking quickly. After a final drying of the nails, it is ended. The installation of your semi-permanent varnish is now complete and will last approximately 2 to 3 weeks.
We hope you liked this article and that it will inspire you for future. In addition to these, I advise you to invest in a complete manicure kit to care for your nails in daily life.
Read also: How To Use Cuticle Oil?


